Travel Photography: Backpack Essentials for the Travel Photographer

Do you ever wonder about what equipment to pack when traveling?
I’m a portrait and event photographer. As you may guess, my on-site work equipment is much heavier than my traveling equipment. When traveling, the most important thing to keep in mind is what kind of photographs you plan to take and how much equipment you are willing to bring.
Here are some tips and recommendations for the traveling photographer:
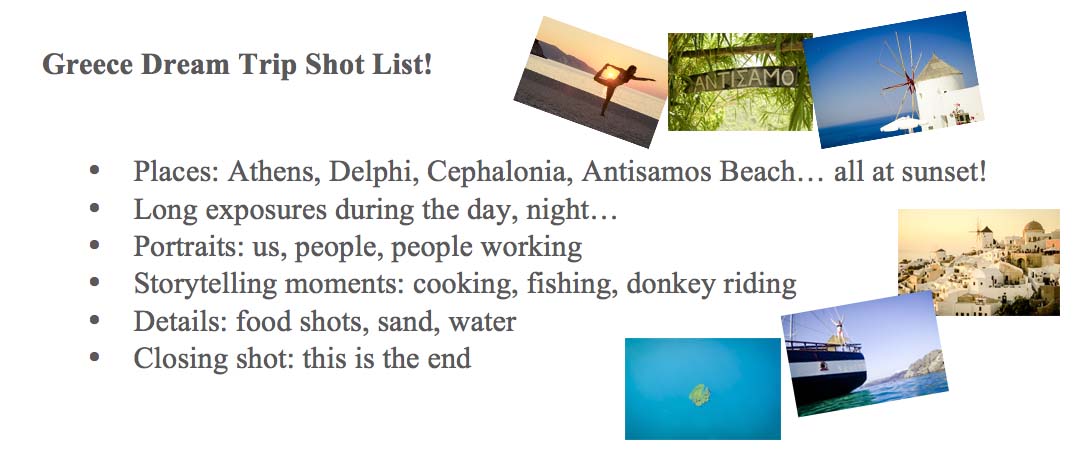
1. Make a “shot list”: Depending on where you’re going, you will have different types photographs you’d want to take. Having an idea of what types of photographs you wish to take (i.e. portraits, street shots, night shots, etc.) will significantly impact your shot list. Thus, you may want to do some research on your destination first. Once you have your shot list, I recommend using social network apps such as Pinterest to organize your trip. This app allows you to create a “board” with the different types of places and photos you’d want to take. During your travels, the board can be your guide to getting excited and inspired while never missing a shot!
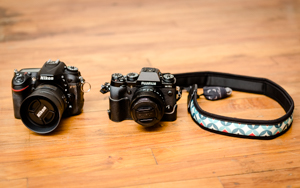
2. Ask yourself, “what’s the right camera for this trip”? Whether a compact camera, your smartphone, a mirrorless camera, or a DSLR, there’s usually an ideal camera for each trip. Different types of cameras will allow you to capture your ideal image, but the most important thing to know is what type of image you want. For instance, compact cameras are light but their performance in low light situations is not always the best. You may also feel limited when it comes to lenses. On the other hand, because I’m a portrait and event photographer, I use my DSLR camera when doing commissioned work. However, when on vacation, I usually bring my mirrorless camera.
3. Camera protection: Typically, I carry my camera equipment in a non-camera bag or backpack. I also like to protect my camera gear with wraps for extra protection on the go. These wraps are padded and can cover items such as my camera, portable flash, and lens. For travelling, I also prefer to make any bag or backpack into a camera bag. For this, I use flexible padded storage cases. I own the one made by Ape Case, which carries the cubeze QB45, ideal for my mirrorless camera with lens, another additional lens, and my flash. It also has external pockets where I can store other items such as the battery charger, extra batteries, and memory cards. Lastly, if you prefer to use camera bags/backpacks, I recommend Think Tank and Manfrotto bags.
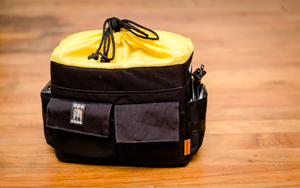
Image: Ape Case cubeze QB45
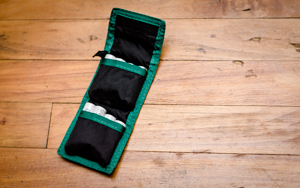
4. Memory cards and memory card protector. I shoot raw, and depending on the number of days I’m traveling, I take several memory cards. I have a shooting ratio of 4GB per day, but again, this is completely up to you. Also, make sure that the writing speed of the memory card fits your camera. To protect my memory cards, I use memory card waterproof cases like GEPE.
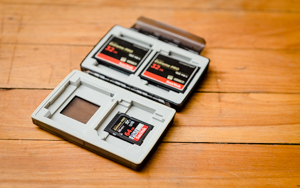
Image: GEPE waterproof case
5. Carbon fiber tripod: Even though I’m a portrait and event photographer, I enjoy being able to capture landscapes and long exposures while travelling. I know tripods aren’t as comfortable to carry around. Thus, I like to bring my carbon fiber tripod. I have one sold by Adorama named “3pod” and it’s light and can go as low as 1 foot tall and as high as 5 feet 5” tall. Another option is their aluminum version, which is 2 pounds heavier. Another brand is MeFOTO, which is similar to “3pod,” but prices tend to be higher. 3pod and MeFOTO both come with a really nice pouch that protects the tripod and can fit in your carry-on bag. Additionally, if you want more options, Gorillapods could be another option and you could easily wrap them up on a chair to use it.
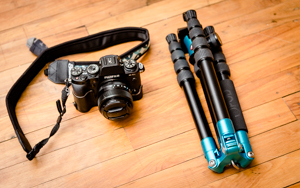
Image: Carbon fiber tripod
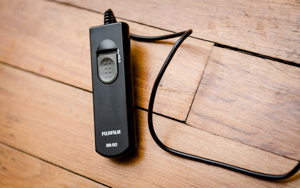
6. Remote control: I recommend this if you want to be able to photograph long exposures and even try some bulb mode when travelling. Typically, camera manufacturers sell them but you can also use other brands such as Vello and Pixie.
7. Neutral density filters: I love to use these to be able to make long exposures during the day. I use the variable neutral density filter by Hoya, which goes from 1 stop to 9 stops. If you have more than one lens, you might consider Lee filters or Cokin filters, which use a filter holder that can adapt to different lens diameters and may hold 1 or more stacked filters. This is a great option if you have multiple lenses.
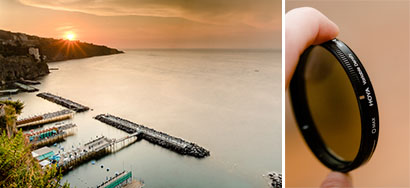
Image: Hoya Variable ND filter. Exposure: ISO 200 f16 30 seconds
8. Circular polarizers: If you’d like to enhance the color of the sky you might want to look into circular polarizers. These filters allow you to make the skies bluer, reduce reflections from water or glare from shiny surfaces and buildings. Be sure to check that the lens is always perpendicular to the sun.
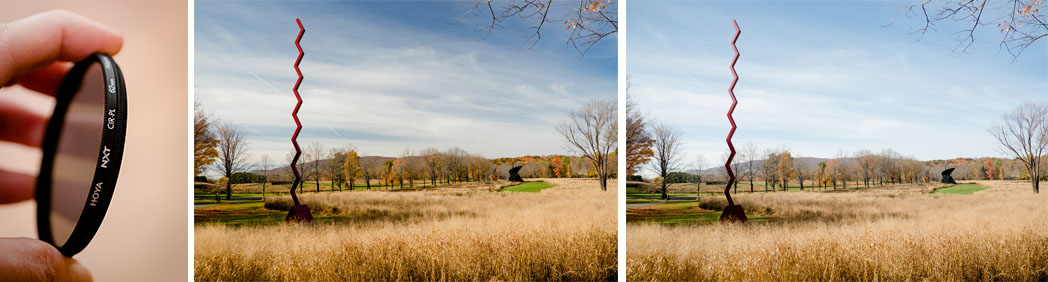
Images: Circular Polarizer. Image taken with a circular polarizer. Image taken without a circular polarizer.
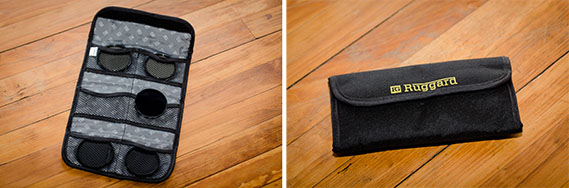
9. Filter pouch: I use this to fit all my neutral and circular polarizer filters and keep them protected. I use the Ruggard’s pouch which holds up to 6 filters.
10. Portable flash: I love to have the ability to photograph at night or enhance portraits while using a flash. My camera comes with a built in flash, but I still prefer to bring a portable flash, allowing me to achieve more creative effects while travelling.

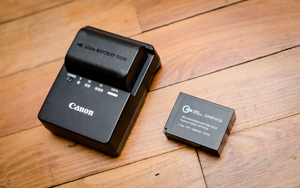
11. Battery charger adapter (travel abroad): When traveling abroad, make sure you bring an adapter. Not every outlet is compatible with U.S. outlets. Also, make sure your battery charger holds the voltage of the country you are planning to visit.
12. Camera battery and spare batteries. I always travel with 2 batteries. This is particularly useful when traveling with mirrorless cameras which require more battery power than DSLRs. Also, I like to bring 8 AA rechargeable batteries for my portable flash (which uses 4 of them).
Below, there’s an image showcasing the equipment I bring when traveling.
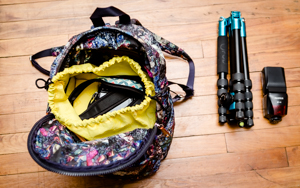
This might be a long list, but it has helped me to travel more comfortably and still be able to use my gadgets to explore and enjoy my travel photography.
If you are ready to learn more about travel photography, take a look at our Travel Photography Class!
Comments
Sign in to comment.